
Set up from the first screen
Sessionboxer starts with a prompt box, and the agent, the repositories and Start under it. Above the box, until one is connected, sit the four agents: click the logo of the one you subscribe to and a dialog shows the install, log-in and paste steps for your operating system. A Git account (GitHub or Bitbucket) is one more click, from the same screen or from the checklist in the sidebar. Everything else about a session lives behind Advanced….
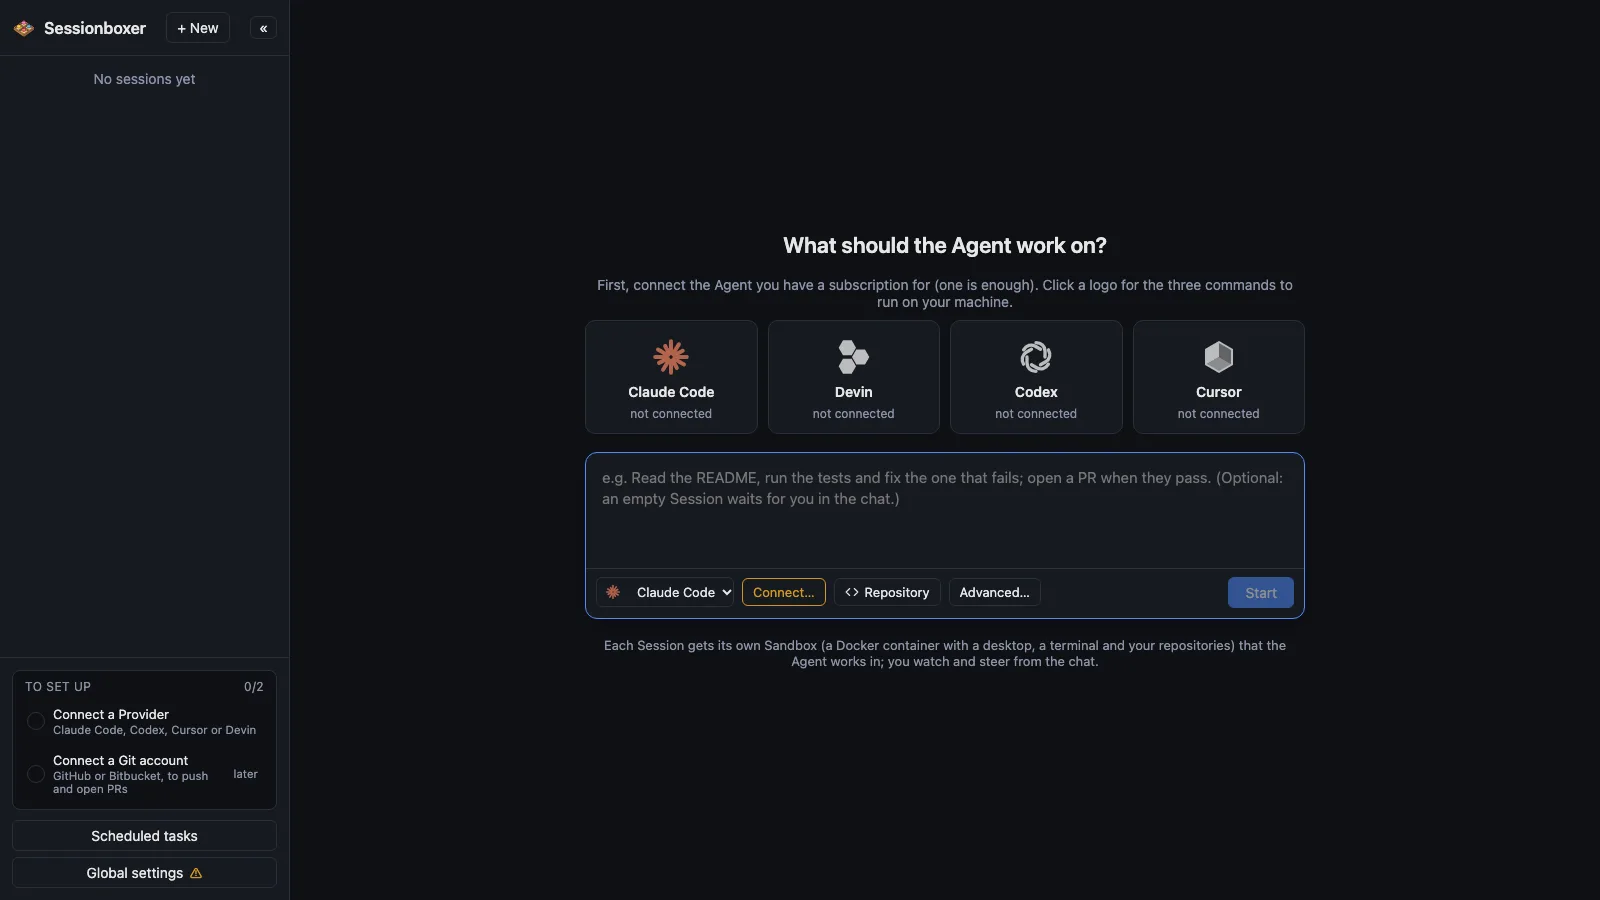
Things you can do with it
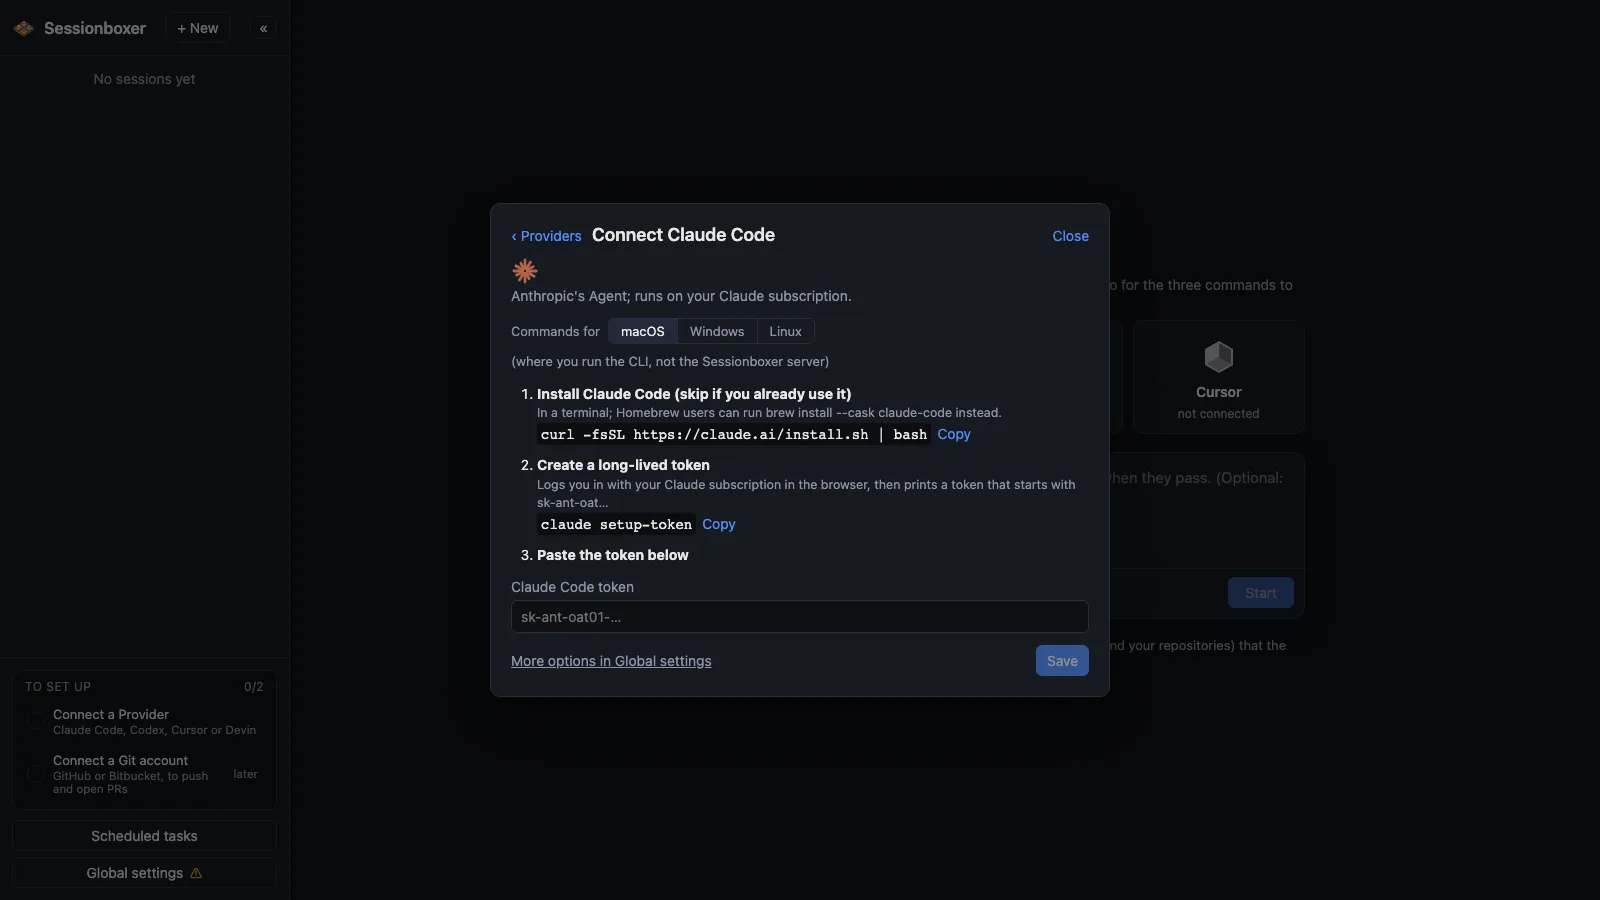
Connect the agent without reading a guide
Click Claude Code, Codex, Cursor or Devin. The dialog names the CLI to install, the command that logs you in and what to paste, for the OS you are on. Copy buttons on every command.
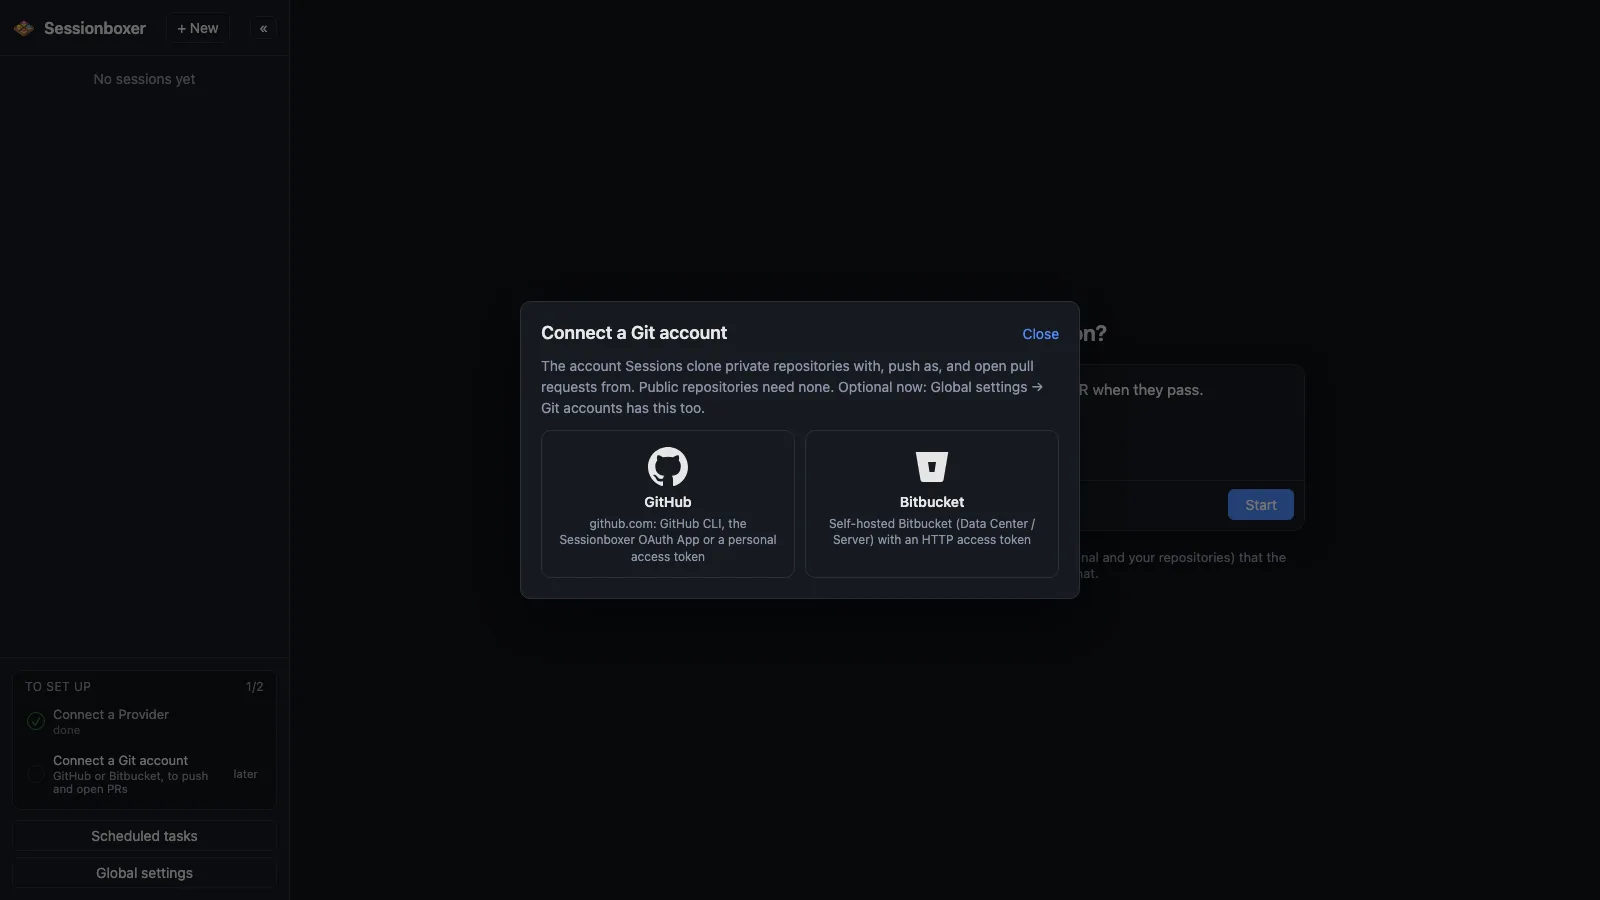
Use a personal access token for GitHub
Pick GitHub, then Personal access token: a direct link to create it with the exact permissions listed, and the Control Plane checks the token before saving it.
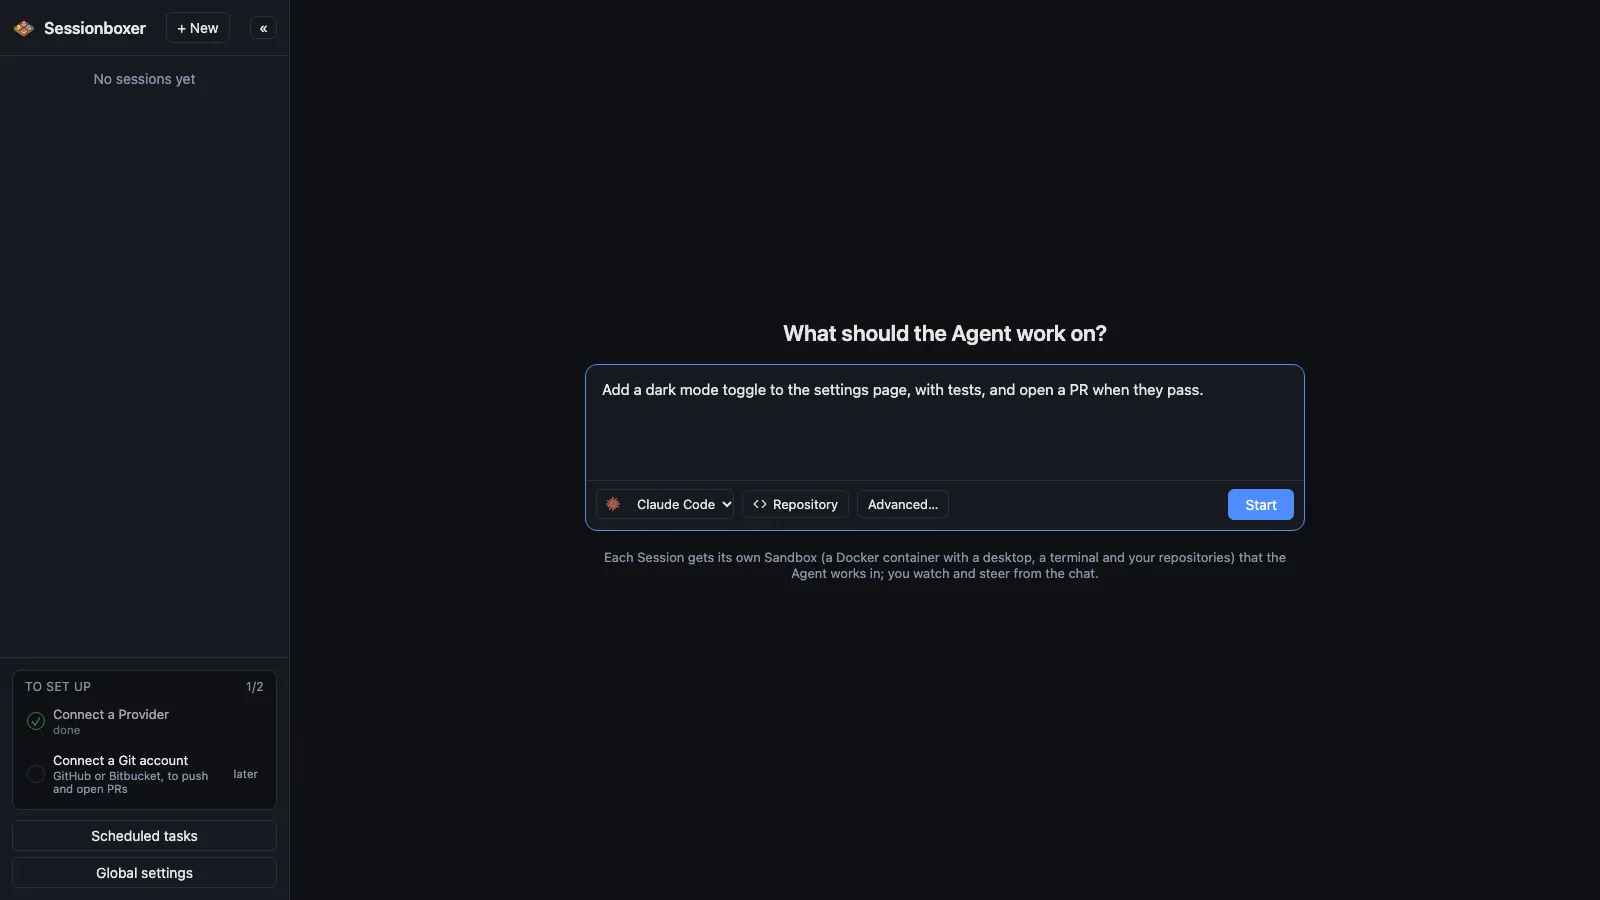
Start a session in one line
Type the prompt, press Cmd/Ctrl+Enter. No form to fill in; the defaults from Global settings apply.
Find the rest when you need it
Model, instructions, MCP servers, snapshots, verification, CPU and memory: Advanced… opens them as sections on the left with the controls on the right, for this session only.
How it works
The dialogs write to the same Provider logins and Git accounts as Global settings, so nothing is stored twice. The OS is read from the browser and falls back to the machine running the Control Plane, which is where the commands run. The sidebar checklist disappears once both items are done, or when you mark the Git account as later.
The login page has a Where do I find the token? link with the command per install method (sessionboxer token, docker compose exec control-plane sessionboxer token), for a server started with docker compose up -d whose logs you never saw.
Compared with other products
| Sessionboxer | Devin | Cursor Cloud Agents | Codex cloud | Claude Code on the web | OpenHands | T3 Code | |
|---|---|---|---|---|---|---|---|
| Your existing subscription, no new account | ✓ | ✗ | ✗ | ✗ | ✗ | API key | ✓ |
| Runs on your machine or your server | ✓ | ✗ | ✗ | ✗ | ✗ | ✓ | ✓ |
| Open source | MIT | ✗ | ✗ | ✗ | ✗ | MIT | MIT |
The hosted products run on their own account, so there is nothing to connect: you log in to Devin, Cursor, OpenAI or Anthropic and start. Sessionboxer runs your agent's own CLI in a box on your hardware, so it needs that CLI's login once; the first screen walks you through it. OpenHands asks for an API key in its settings, T3 Code uses the CLIs installed on your machine.
Based on each product's public documentation, September 2026; ✓ = offered, ✗ = not offered, — = not found in the docs. Corrections welcome as an issue.