
You had Kimi CLI working, maybe in a container. Then you open its GitHub page and the kimi-cli repository is archived. The README says the Python CLI "has been replaced by Kimi Code CLI", that there will be no more releases or security fixes, and that existing installations "will stop working". So you need the new one, and you need it to run where it cannot touch your laptop.
This post covers installing Kimi Code CLI in an image, giving it a login or an API key without a prompt, and the permission mode a headless run uses. Everything about Kimi Code below comes from its README and documentation, read on November 11, 2026, and from running version 2.5.3 in Docker that day. The changelog dates 2.5.3 to November 10. Releases come every few days, so check kimi --help in your own image.
What changed between Kimi CLI and Kimi Code CLI
The old CLI was Python, installed with uv tool install kimi-cli, and kept its data in ~/.kimi. The new one is TypeScript on Node.js, and it keeps its data in ~/.kimi-code. The command is still kimi. Watch the package names: the PyPI package called kimi-code is a legacy alias of the old Python CLI, not the new tool. The new CLI is the npm package @moonshot-ai/kimi-code, or the binary from the install script.
The migration guide explains kimi migrate. It copies config.toml, MCP server settings, input history and the sessions you pick from ~/.kimi into the new home. It does not copy OAuth logins or MCP authorizations, so you log in again either way. The guide says migration leaves ~/.kimi untouched and the old CLI "keeps working as before". That is about the data. The archived README is the one that warns it will stop working, so we would plan for that.
A small image
The install script needs no Node.js, but a Dockerfile is easier to pin with npm. The getting started page asks for Node.js 22.19.0 or later:
FROM node:22-bookworm-slim
RUN apt-get update \
 && apt-get install -y --no-install-recommends git ripgrep ca-certificates \
 && rm -rf /var/lib/apt/lists/*
RUN npm install -g @moonshot-ai/kimi-code
USER node
WORKDIR /workspace
Git is there because the agent reads history and makes commits. Ripgrep is optional: the CLI can download its own copy into ~/.kimi-code/bin, but a container with less network access is happier with one already installed. The node user in the official image has UID 1000, so mounted folders should be writable by that UID.
We built this with docker build -t kimi-box . and kimi --version printed 2.5.3. Write @moonshot-ai/kimi-code@2.5.3 in the install line if you want the same version next month. Two environment variables are worth setting in a pinned image. KIMI_CODE_NO_AUTO_UPDATE=1 turns off the update check and background install, which is on by default. KIMI_DISABLE_TELEMETRY=1 turns off the anonymous telemetry.
A login or a key, without a prompt
A fresh container has no login. We ran kimi -p "say hi" in it and got No model configured. Run kimi and use /login to sign in, then retry; or set default_model in config.toml. There are two ways out.
The first is the Kimi Code login. /login in the terminal UI, or kimi login from the shell, starts a device-code flow: you open a link on any device, sign in and enter the code. Run it once in an interactive container with a volume on the data folder, and later runs reuse the credentials, which live in ~/.kimi-code/credentials/ with file mode 0600:
docker volume create kimi-home
docker run --rm -it -v kimi-home:/home/node/.kimi-code kimi-box kimi login
The second is an API key from the Kimi Platform. Here is the trap. The environment variables page says it plainly: export KIMI_API_KEY=... does not give any provider its key. We checked, and with only KIMI_API_KEY set the run failed with the same "No model configured" error. The CLI reads keys from config.toml, with two exceptions. A provider can name a variable with api_key_env. Or you set the KIMI_MODEL_* variables, and the CLI builds a provider and a model in memory:
docker run --rm \
  -e KIMI_MODEL_NAME=<model id from the platform> \
  -e KIMI_MODEL_API_KEY \
  -e KIMI_MODEL_BASE_URL=https://api.moonshot.ai/v1 \
  -v "$PWD":/workspace \
  kimi-box kimi -p "Fix the failing test in tests/dates.test.ts"
-e KIMI_MODEL_API_KEY with no value copies the key from your shell, so it does not show up in the command line. With a dummy key, this run got as far as the API and came back with provider.auth_error: Invalid Authentication and exit code 1, so the variables are read. Pass the key when the container starts, never in the Dockerfile, where it stays in an image layer. The agent can read its own environment too, so use a separate key you can revoke. There is more on that in keeping secrets away from your coding agent.
The mode a headless run gets
Kimi Code has three permission modes. Always Ask is the default in the terminal UI: reads run, and every edit or command asks. Ask When Needed (--yolo, formerly YOLO mode) approves routine calls but still asks before reading .env or SSH keys and before commands like rm -rf or shutdown. Never Ask (--auto) approves everything, sensitive files included, and the dangerous-command guard is off.
The part to know before you write a script: the command reference says -p cannot be combined with --yolo, --auto or --plan, because "non-interactive mode uses auto permission by default". Every kimi -p run is a Never Ask run. On your laptop that means a prompt can read your ~/.ssh and run anything without asking you. In a container that only holds a copy of the repository, it is the same argument we made for Claude Code in running --dangerously-skip-permissions safely: the container is the boundary. It only holds if you do not mount the Docker socket or your home folder.
Two more settings decide what a repository can bring with it. Project MCP servers in .kimi-code/mcp.json and allow rules in .kimi-code/local.toml load only after you trust the folder. KIMI_CODE_TRUST_WORKSPACE=1 trusts it for one process. Set it only for repositories you know. --output-format stream-json gives a script something to parse instead of plain text.
Kimi Code also has remote environments. The CLI stays on your machine and sends file reads, writes and commands into a running container through docker exec. That keeps the files and commands in the box, but the CLI process and its credentials stay on the host.
Where Sessionboxer fits
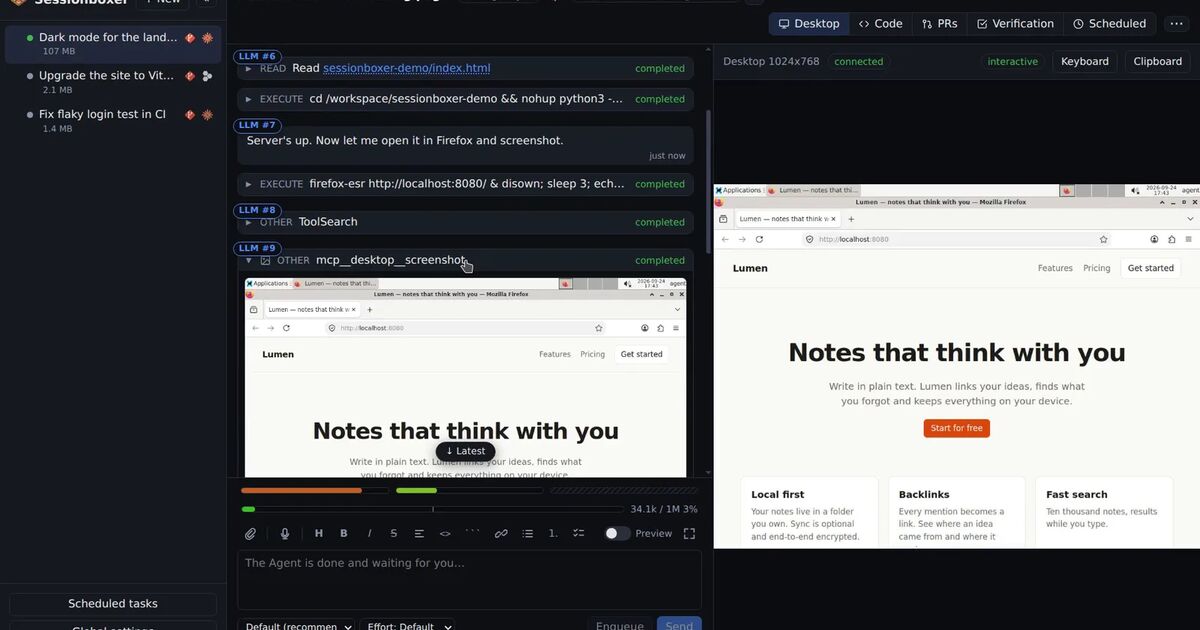
We build Sessionboxer, and Kimi is one of the agents it runs. Each session gets its own box, a Docker container or a Windows VM. Kimi runs there with its permission prompts switched off, which is the idea behind agents that don't ask. You sign in once under Connect a Provider with the same device-code flow, or import the login file. The token goes to a tmpfs folder in the box, so it is not written to the container's disk. Kimi's sessions stay on that disk, so a session you stop and resume keeps its conversation. The Connect your agent chapter has the steps.
Now the limits, which matter more than usual this week. The Sessionboxer image pins Kimi CLI 1.52.0, the archived Python CLI, and imports its ~/.kimi/credentials/kimi-code.json. It has not moved to Kimi Code CLI yet. If the old CLI stops working as the README warns, Kimi sessions in Sessionboxer stop with it until we ship the new one. An API key alone does not work there either, because 1.52.0 asks for the Kimi Code login even with a valid key. The usage bars are hatched for Kimi, since it reports no usage windows, and macOS VM sessions cannot run it, because the guest is x86_64 and there is no build for it. If you want Kimi Code CLI 2.x in a container today, the Dockerfile above is the way.
For another agent set up this way, see running Mistral Vibe in Docker.